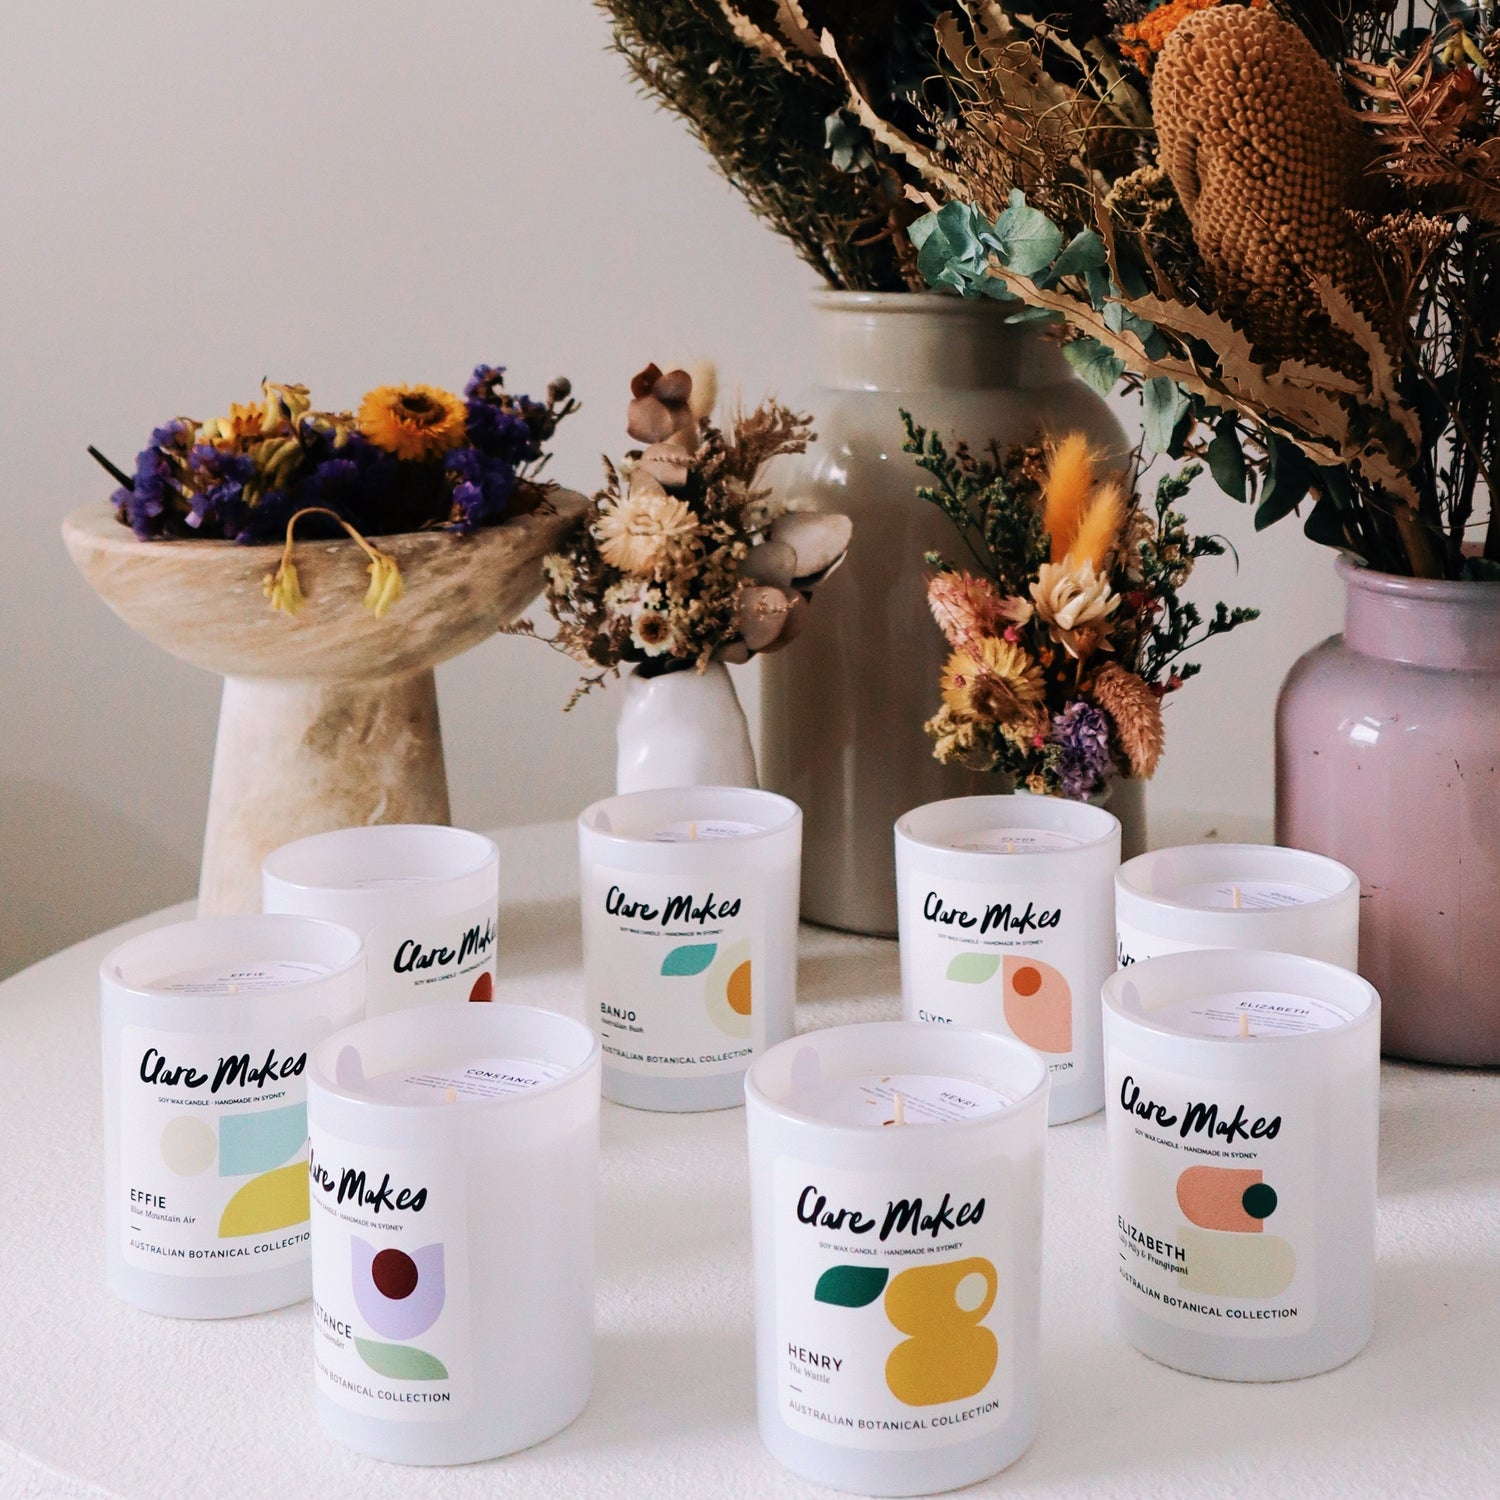

Candle Care, Room Spray, Diffuser & Essential Oil Information
Whether you've just unboxed your first Clare Makes candle or you're topping up your favourite reed diffuser, this guide walks you through the little things that help your home fragrance last longer and smell its best. Think of it as a mix of care tips, safety notes, and a few tricks I've picked up along the way.
Soy Candle Care and Burning Tips
All Clare Makes candles are hand-poured in Newcastle using a coconut soy wax blend (sometimes olive wax) with cotton fibre wicks. They're designed to burn cleanly, hold their shape, and fill your space with beautiful scent.
Your candle's first burn
The first time you light your candle, trim the wick to about 5 mm and let it burn for 2.5 to 3 hours so the melted wax reaches close to the edges. This helps it burn evenly next time too. If it doesn't quite reach the edge on the first go, that's fine, it will usually catch up on the next burn if you give it enough time. In winter this can take a little longer; in summer the wax melts faster.
It's best not to burn for longer than about 4 hours in one go, as this can lead to sooting, staining inside the glass, or the wick curling. If tunnelling happens, you can try this quick method to fix it.
Keeping your candle at its best
- Trim the wick to around 5 mm before each burn to keep the flame steady.
- Make sure the wick stays upright and centred as it cools.
- If you have a wick dipper or snuffer, use it to put the flame out gently, it keeps the smoke down and the scent pure.
- When there's about 1 cm of wax left, it's time to say goodbye. Burning any lower can cause the jar to get too hot.
Choosing the right spot
- Place your candle on a flat, heat-safe surface with a bit of space around it.
- Keep it away from breezes, heaters, and air conditioners, draughts make the flame flicker and burn unevenly.
- Keep out of reach of little hands, curious pets, curtains, books, and anything flammable.
Reed Diffuser Safety and Care
Reed diffusers are a lovely low-maintenance way to keep a room smelling fresh all the time. A little care will help yours last longer and smell stronger.
- Your diffuser will come with white sticks, but you don't need to use them all! The less sticks are in the solution, the less it will smell BUT the longer it will last. Start with one or two, see how you go, and add more sticks if needed.
- Choose a spot out of direct sunlight and away from heat sources, too much heat can make the fragrance evaporate quickly.
- Avoid placing right next to an open window, as the scent can drift outside instead of filling the room.
- Flip the reeds if needed, to refresh the scent. This isn't mandatory but it can help.
- Always refill with the same scent to keep it pure.
- Wipe up any spills quickly to avoid damage to surfaces, especially wood and stone.
- Keep diffusers out of reach of children, pets, and electronics.
- Dispose of old oils and reeds in the bin. Do not pour oils down the drain.
How to Refill Your Diffuser
When it's time for a top-up, here's the easiest way to do it:
- Start in your kitchen sink. Pop on a pair of gloves and unscrew the collar on your diffuser jar.
- Remove and dispose of the old reeds.
- Unscrew the refill pouch and, using a metal funnel not used for food, pour the oil carefully into your clean vessel.
- Screw the collar back on snugly and add fresh reeds.
- Use fewer reeds for a more subtle fragrance.
Using Essential Oils
Our essential oil blends are a different product to our reed diffusers, and they need a different kind of device to release their scent. Here are the basics; for the full guide, including how to use them in the laundry and answers to the questions we hear most, head to Essential Oils for Beginners.
What to use them in
| Device | How it works |
|---|---|
| Electric ultrasonic diffuser | Water and a few drops of oil, turned into a fine mist |
| Oil burner | A tealight gently warms oil in a dish above it |
| Aroma stone | A porous stone slowly absorbs and releases the oil, no water or power needed |
| Compatible car diffuser | A mini ultrasonic diffuser sized for a cup holder or vent |
The basics
- Use 3 to 4 drops per session in your diffuser, burner, or aroma stone. A little goes a long way.
- Never apply undiluted to skin. Mix 3 drops of essential oil with 10ml of a carrier oil such as coconut, jojoba, or sweet almond oil first, and always avoid the eyes.
- Don't add essential oils to a candle or wax melt, they aren't formulated or tested for that.
- For external use only. Keep away from children and pets, and store out of direct sunlight below 30°C.
Using a Room Spray
A room spray is a quick way to refresh a space or add a burst of scent before guests arrive. For best results, spray first and wait 10 to 15 minutes before lighting any candles.
Best ways to use it
- Always do a test patch before spraying your room spray onto anything in your house made of fabric.
- Room sprays work best if they've got something to cling to, like dried flowers, curtains or bedsheets. Don't spray them directly onto furniture or skin.
- Two sprays per room is usually plenty as more can be overpowering.
- Store in a cool, dry place and keep the lid closed when not in use.
- For a fresh, airy feel, lightly spray curtains and open a window for a few minutes.
Safety reminders
- Keep away from flames, heat, and lit candles.
- Do not spray near food, faces, or pet bedding.
- Some customers like using it as a body spray, but I recommend spraying clothing instead of skin to avoid irritation.
Cleaning and Reusing Your Candle Jar
Once your candle has finished, the jar can have a whole new life, but there's one important safety note first.
How to clean it
- Place the jar in a double boiler to soften the last bit of wax. Do not microwave the jar as the wick has a metal tab at the base of the candle.
- Gently pop out the wick holder with a butter knife.
- Wipe away wax with a paper towel, then wash with hot soapy water.
- If you're just trying to remove soot marks, a little isopropyl alcohol on a paper towel works wonders. Wait until the alcohol has fully dried before lighting your candle again.
Removing the label
The labels are printed on gloss laminated vinyl, which is strong and heat resistant. Peel slowly to avoid scratching the glass, and use isopropyl alcohol to lift any glue residue. Avoid acetone, as it can damage the surface.
Ways to reuse your jar
Once clean, you can use your jar for makeup brushes, pens, flowers, plants, cotton pads, toothbrushes, or even as a little storage pot for odds and ends. Check out Clare Makes on Instagram for more candle jar reuse inspiration.
FAQs
How long should I burn my candle the first time?
About 2.5 to 3 hours should do it, long enough for the melted wax to reach the edges of the jar. In winter this will take longer; in summer the wax will melt faster.
Can I fix a candle that has tunnelled?
Try the reset method I share here, or read the full step-by-step tunnelling fix.
Why is my candle smoking?
Usually it means the wick is too long or it's sitting in a draught. Trim to 5 mm and move it to a sheltered spot.
How do I make my reed diffuser last longer?
Keep it away from heat and sun, use fewer reeds, and flip them only when the scent needs a refresh.
Can I add essential oils to my reed diffuser?
No, they're different products. Reed diffusers release scent through the reeds on their own, while essential oils need a diffuser, oil burner, or aroma stone to work. See Essential oils above, or read the full guide for more.
Can I reuse my candle jar?
Absolutely, just follow the cleaning tips above. Please don't refill it with wax though, for safety reasons.
Can I use the room spray on fabric?
Yes, but always spot test first and avoid delicate or water-sensitive fabrics.
How long will my candle last?
As a general rule, Medium candles burn for 40 hours, Large candles burn for 50 hours, and XL candles burn for 60 hours.
Happy burning, and thank you for supporting my Australian Made business.
Clare